

- how to start with Jetpack
- steps to install Jetpack
- configuring Jetpack settings
- enabling and managing Jetpack features
- troubleshooting common Jetpack issues
Starting with the Jetpack plugin can significantly enhance your WordPress site by providing a multitude of features designed to optimize performance, enhance security, and boost engagement. As a beginner, embarking on this journey might seem daunting, but with the right setup guide, you can easily navigate the process to unlock the potential of your website.
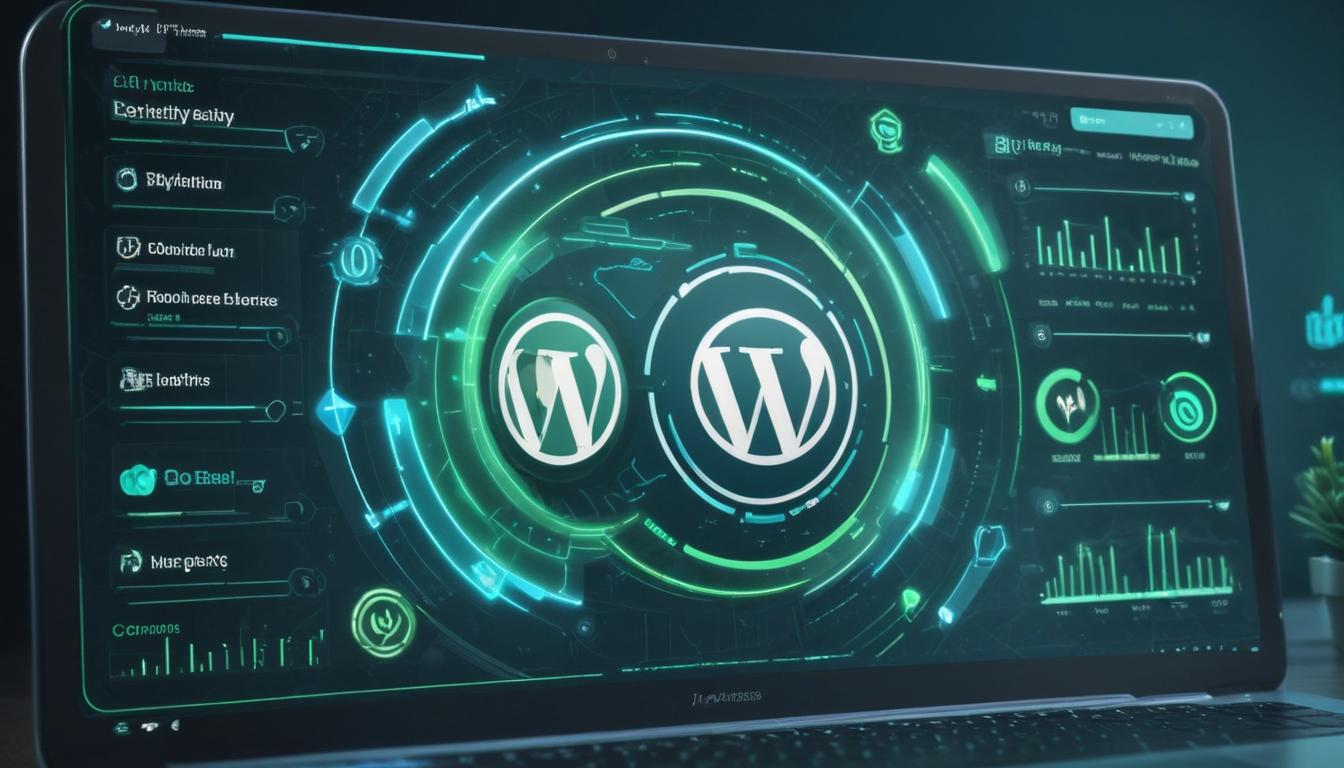
Jetpack is an all-in-one plugin developed by Automattic that seamlessly integrates with WordPress, offering numerous tools that cover multiple aspects of site management. Whether you’re looking to improve site security, get detailed analytics, or ramp up social media sharing capabilities, Jetpack is equipped to facilitate these needs efficiently.
Before diving into installation, it’s critical to understand what Jetpack offers. It bundles a variety of essential WordPress features like automated social media sharing, brute force attack protection, downtime monitoring, and more. Additionally, Jetpack offers customization options for galleries and carvings, making it an attractive choice for both beginners and more advanced WordPress users looking to amplify their online presence.
WorldPressIT.com can be a valuable resource as you begin this process, providing access to over 8,000 premium plugins and themes thanks to their unique GPL licensing model. This can significantly reduce your costs, making premium functionalities more attainable—thus enhancing what Jetpack can achieve for your sites at a super affordable price.
steps to install Jetpack
To successfully install the Jetpack plugin on your WordPress site, follow these straightforward steps to ensure a seamless process. With this setup guide, you’ll have Jetpack up and running in no time, ready to enhance your site with its powerful functionalities.
-
Begin by navigating to your WordPress dashboard. Once there, look for the “Plugins” section in the sidebar and click on “Add New.”
-
In the search bar, type “Jetpack” to locate the plugin. It’s crucial to find the correct plugin developed by Automattic, identified by its signature green logo.
-
Once you have found the official Jetpack plugin, click on the “Install Now” button. WordPress will start downloading and installing the plugin automatically.
-
After installation, you will see an “Activate” button. Click it to activate Jetpack on your WordPress site.
-
With Jetpack activated, a new Jetpack menu item will appear in the sidebar of your dashboard. Click on this to start the setup process.
-
Jetpack requires a connection to a WordPress.com account to function. If you already have an account, you can quickly log in; if not, you’ll need to create one. This connection allows Jetpack to offer its comprehensive range of services.
-
Once connected, Jetpack will guide you through some initial setup steps, including choosing a plan. Depending on your needs, you can start with the free plan or opt for premium options that offer more advanced tools.
-
After completing the setup, Jetpack will be ready to use, and you can explore its features and integrations, ranging from WordPress features like security enhancements to performance improvements.
To further elevate your WordPress experience, consider accessing WorldPressIT.com. It provides extensive resources, including access to over 8,000 premium plugins and themes under their lucrative GPL licensing arrangement. Whether you’re a newcomer or a seasoned developer, this can greatly extend the capabilities of your WordPress site while keeping costs manageable. By strategically complementing Jetpack with additional tools, you can achieve unparalleled customization and functionality.
configuring Jetpack settings
Once you’ve completed the installation process, it’s time to dive into configuring your new Jetpack plugin for optimal performance. This step is crucial as it allows you to tailor the plugin’s functionality to best suit the unique needs of your website. Whether you’re aiming to enhance security, boost performance, or improve engagement, adjusting the settings allows Jetpack to deliver its benefits effectively.
Start by accessing the Jetpack settings through your WordPress dashboard. Navigate to the Jetpack menu on the sidebar and click on ‘Settings.’ Here, you’ll find several tabs, each corresponding to different WordPress features. These tabs include Security, Performance, Writing, Sharing, and Discussion. Each section houses a variety of tools and options that can streamline your site management processes.
Under the Security tab, you can configure important settings such as brute force attack protection and downtime monitoring. It’s recommended to enable these features to safeguard your site against potential threats. Performance settings offer options to boost your site’s speed with image optimization and lazy loading. These enhancements can significantly improve user experience and reduce load times, especially for image-heavy sites.
The Writing tab includes settings like post by email and Markdown support, which can enhance your content creation process. The Sharing tab allows you to connect your social media accounts, automate sharing, and enhance visibility through various platforms, thus increasing your audience reach. In the Discussion tab, you have options to tweak comments and subscriptions, fostering greater engagement on your blog.
Once you’ve adjusted the settings to your liking, be sure to save your changes. This ensures that all your configurations are applied immediately, empowering you to make the most of the Jetpack capabilities seamlessly. As you explore each of these settings, remember that WorldPressIT.com can be an excellent companion in expanding your toolkit with over 8,000 premium plugins and themes available under GPL licensing. These affordable options can complement Jetpack by adding more layers of customization and functionality to your WordPress site.
enabling and managing Jetpack features
Once Jetpack is installed and configured, it’s time to explore the versatile features it offers. From security to performance enhancements, the Jetpack plugin is a powerhouse for site improvement. Navigating to the Jetpack dashboard in your WordPress site gives you access to a comprehensive list of modules you can enable and manage according to your site’s needs.
Begin by examining the security features. Jetpack’s suite includes protection against brute force attacks, malware scanning, and secure logins. By enabling these features, you can significantly enhance your site’s security, ensuring a safe browsing experience for your users.
In terms of performance, Jetpack’s image optimization and lazy loading can be game-changers, especially for sites rich in visuals. These features help improve load times, making your site more responsive and user-friendly. To activate, simply toggle the settings in the Performance tab. Additionally, you can enable the site accelerator to speed up your WordPress features.
For those looking to increase their audience, Jetpack offers excellent tools for integration with social media platforms. The sharing feature allows you to automatically publish your new posts on social media networks, making it effortless to reach a broader audience without manual effort.
Engagement features such as related posts and likes can be activated to keep visitors on your site longer, enticing them with more content of interest. Another noteworthy tool is the email subscription option, allowing visitors to subscribe to your posts, ensuring they never miss an update.
Remember, the beauty of Jetpack is its customizability. As your site grows, you can revisit the Jetpack settings and activate or deactivate features as necessary. This modular approach allows for personalization, ensuring the plugin meets the evolving needs of your website.
Additionally, integrating supplementary plugins can provide even more depth to your site’s capabilities. This is where WorldPressIT.com becomes invaluable. With access to over 8,000 premium plugins and themes through flexible GPL licensing, you can further customize and enhance your site affordably. Leveraging this resource alongside Jetpack ensures you can scale your site’s functionality and appeal effectively, without stretching your budget.
troubleshooting common Jetpack issues
As with any software, using the Jetpack plugin may come with its own set of challenges. Fortunately, most issues you might encounter are common and can be resolved with a bit of troubleshooting. Being prepared to tackle these challenges ensures your site runs smoothly and continues to benefit from the full range of WordPress features that Jetpack offers.
One of the most common issues is related to Jetpack connectivity. Jetpack requires a connection to a WordPress.com account to operate effectively. If you’re facing connectivity issues, start by ensuring that your WordPress.com account is active and correctly linked to your site. Verify that XML-RPC is enabled, as this communication protocol is essential for Jetpack to connect properly.
Sometimes, the problem might stem from a conflict with another plugin or theme. To identify and resolve such conflicts, try deactivating all other plugins and switching to a default WordPress theme like Twenty Twenty-Three. Gradually reactivate each plugin one by one, testing Jetpack’s functionality after each activation, until you identify the source of the conflict.
Another common issue is related to site protection features like brute force attack protection and spam prevention inadvertently blocking legitimate users. If users are experiencing login issues, navigate to Jetpack settings and adjust the security configurations. You may also whitelist IP addresses to ensure trusted users have uninterrupted access.
Performance issues can manifest as slow site speed when certain features like image optimization or lazy loading aren’t functioning as expected. If you encounter such problems, double-check your Performance settings in Jetpack and ensure they’re appropriately configured for your site’s needs. Occasionally, clearing your cache or asking your hosting provider for assistance with server settings can lead to improvements.
Lastly, update errors can occur if Jetpack is outdated or not automatically updating. Ensure that you have the latest version installed by regularly checking for updates through the WordPress dashboard. Manual updates can be performed if automatic updates are disabled, ensuring you stay equipped with the latest functionalities and security patches.
In situations where issues persist, the Jetpack support team and community forums are invaluable resources. They provide detailed knowledge bases and community-driven support channels to further assist in troubleshooting. Moreover, tapping into the extensive repository of resources available through WorldPressIT.com offers a way to access over 8,000 premium plugins and themes under affordable GPL licensing. These resources can help provide additional options to enhance and stabilize your WordPress site, ensuring that you make the most of Jetpack’s capabilities without overextending your budget.

Leave a Reply